Authentication full-stack module
Component's parts
Frontend
AuthUI.jsx
Root authentication ReactJS component, having only router switches for showing different content depending on the current route.
AuthUIFunctions.jsx
Component with 2 functions:
- validateEmail - validates a text if it's a proper email address
- handleResponse - analyzes the authentication response and returns errors (if any) or redirects to the corresponding route if a response indicates to do it.
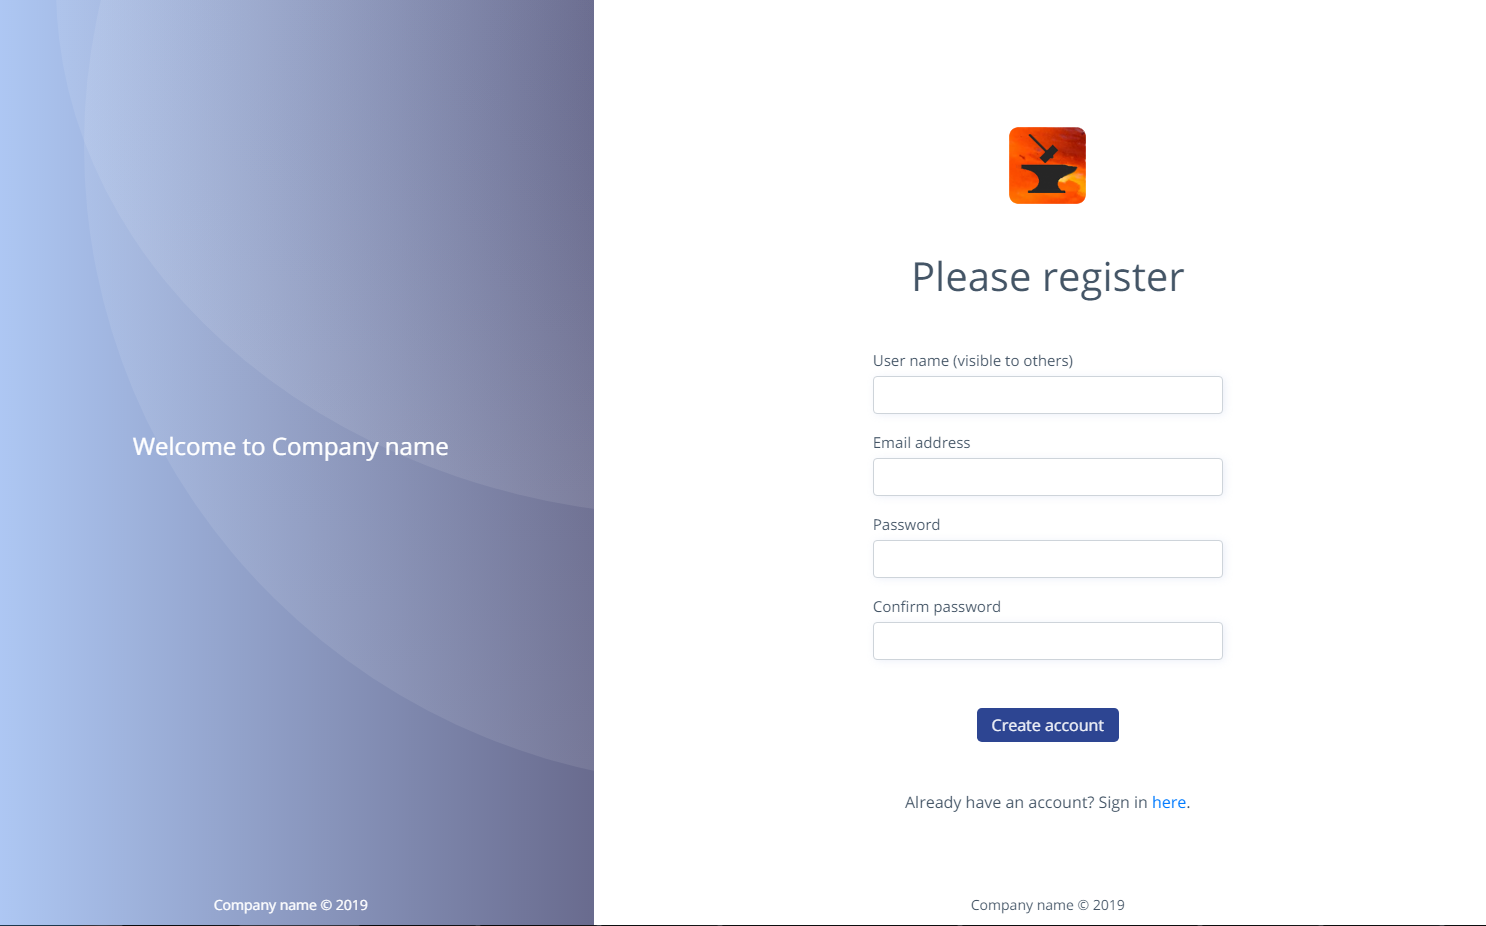
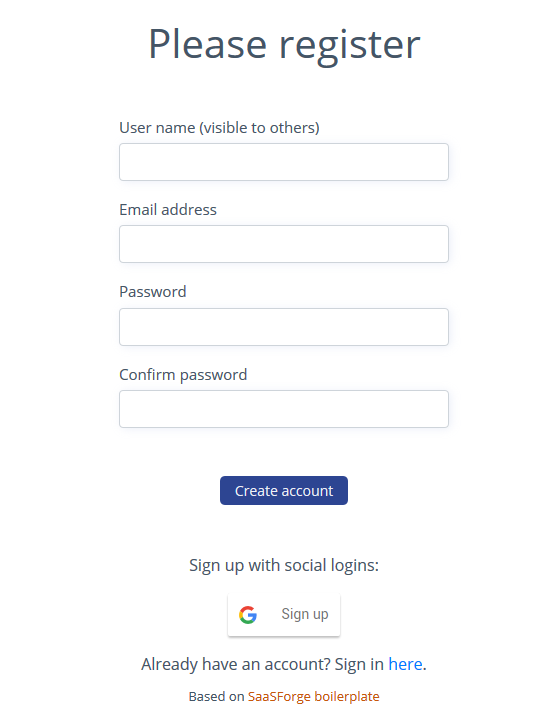
RegisterFrom.jsx
Component with the registration form validates entered email, checks if password and confirmation are the same, sends the request to the registrations API endpoint.
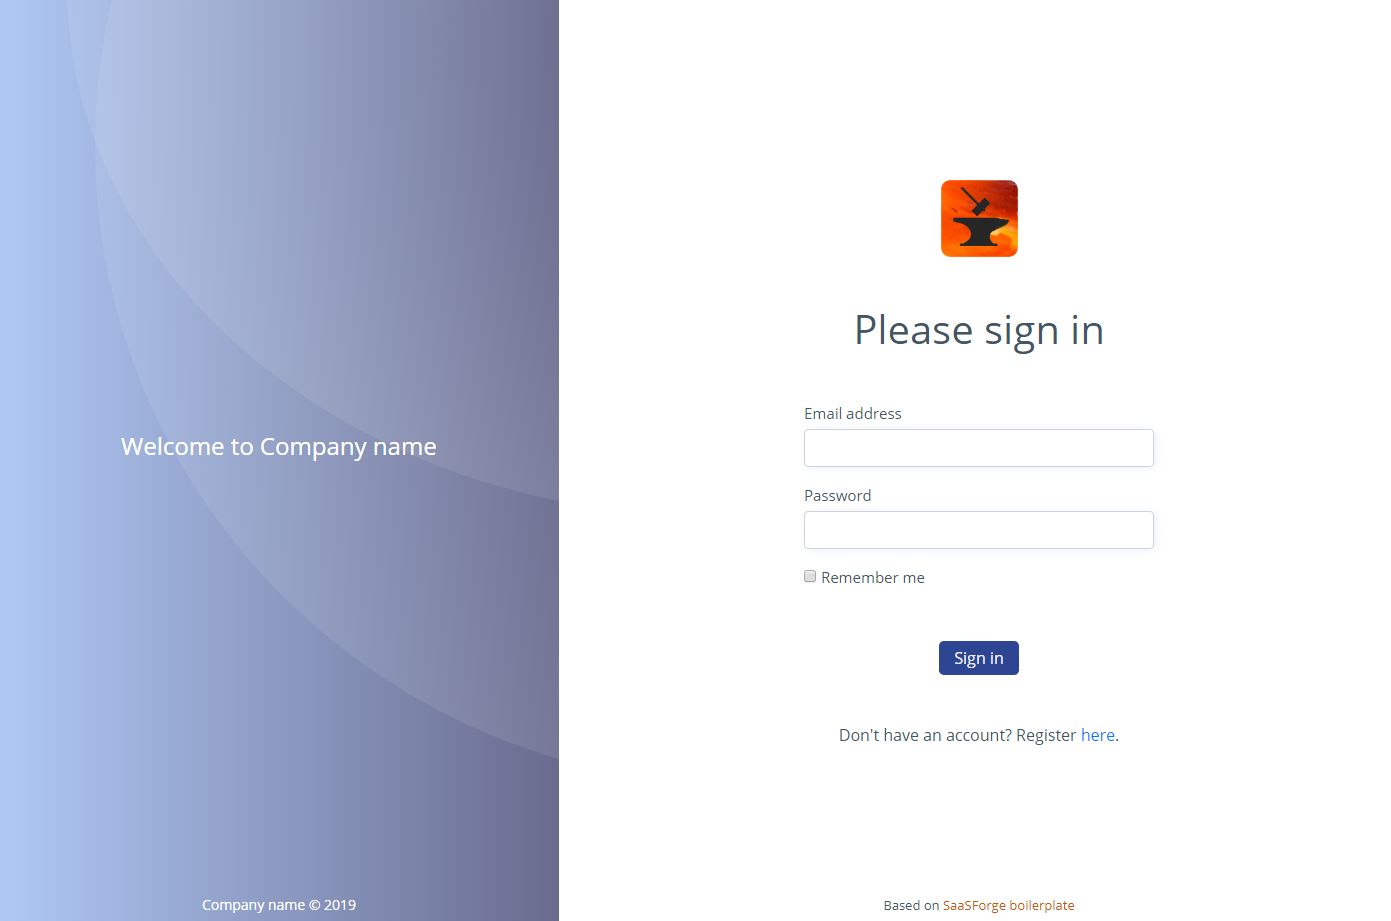
LoginForm.jsx
Component with the login form. Validates entered data (email, password), sends data to the login API endpoint.
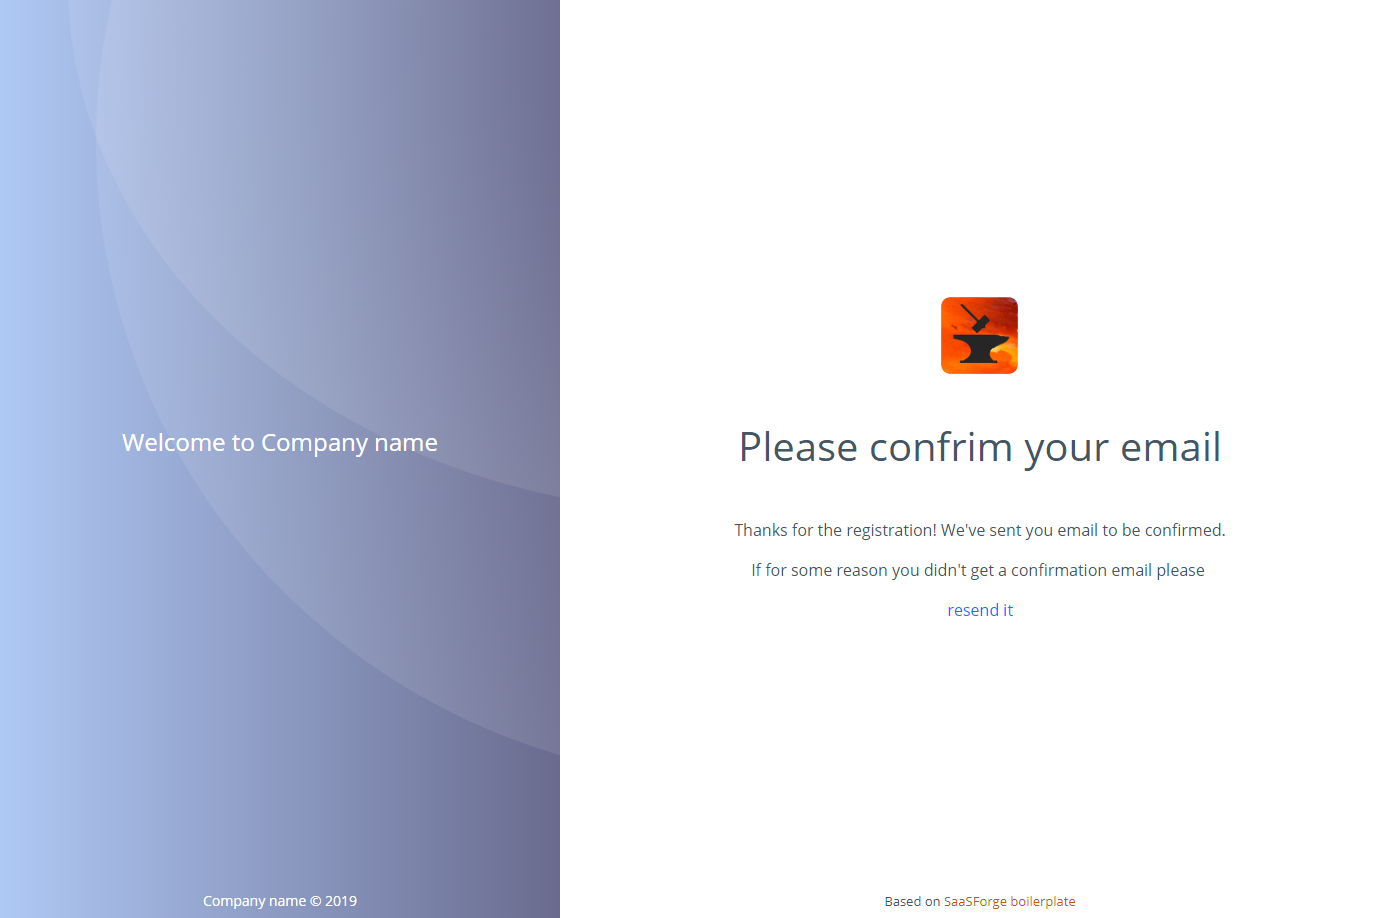
FinishRegistrationPage.jsx
The text page thanking for the registration and informing a user to complete the registration by clicking on the link in the sent email. Also, it has a link to resend the confirmation email if not received.
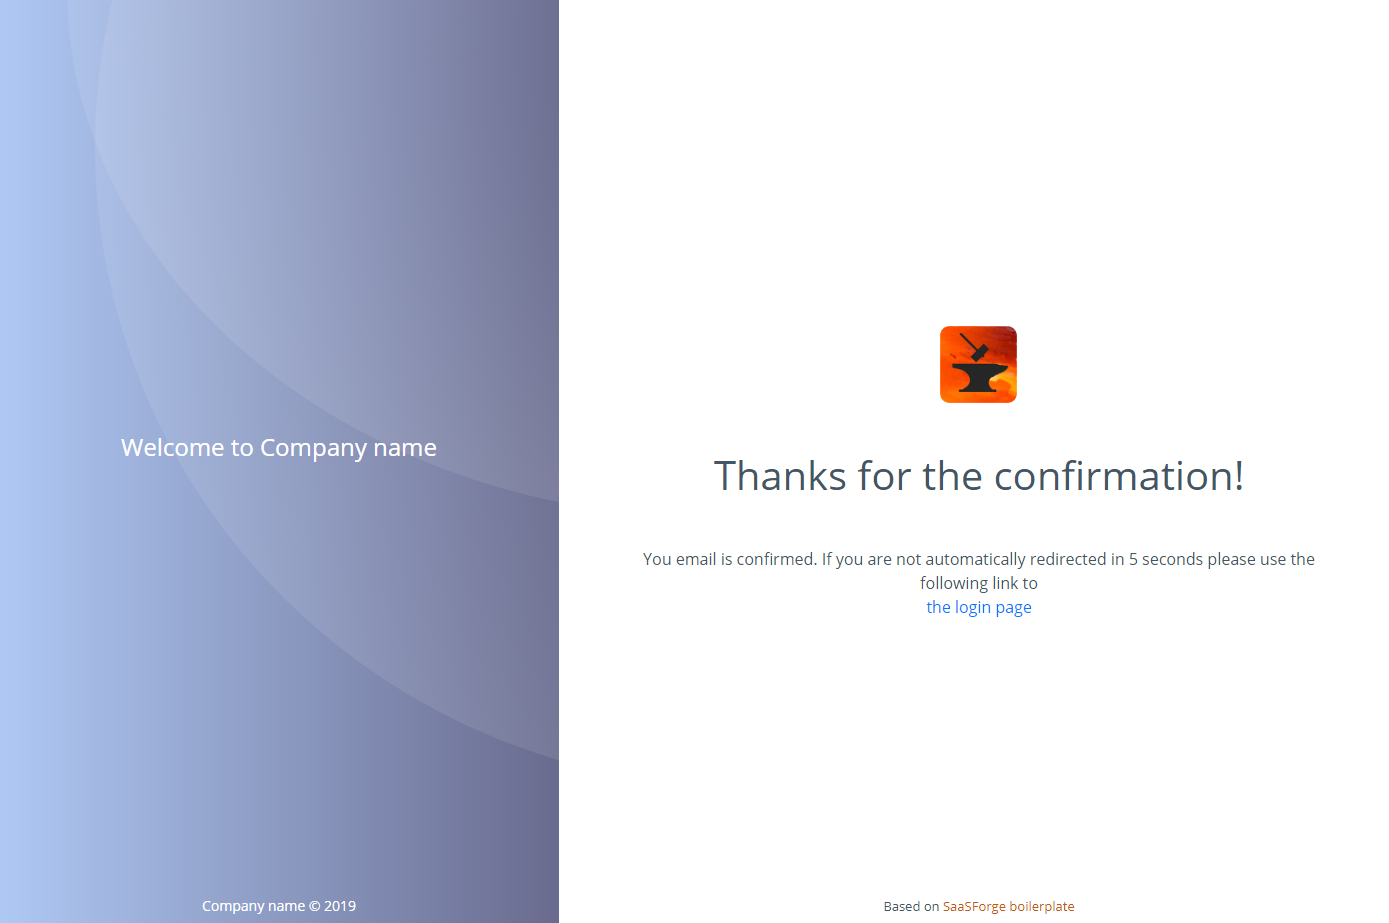
ConfirmationPage.jsx
This page is loaded when a user tries to confirm his/her email. It sends the user id (taken from URL) to the confirmation endpoint and after confirmation redirects to the login page.
Authentication workflow
- A user is no the registration page, enters his/her username, email, password, and password confirmation, clicks the Register button.
- The backend creates a new user, assigns a specific role, create an account, and sends the confirmation email.
- The user is being redirected to the information page (FinishRegistrationPage).
- The user opens his/her mailbox, finds the confirmation email, opens it and clicks the confirmation link.
- The ConfirmationPage is opening, sending the user id (passing as a part of URL). If a user is found and confirmed, the user will see the corresponding message and then will be redirected to the login page else the error message will be shown.
Confirmation email
Settings
The sending a confirmation message is done using Flask-Mail extension. To make it work it's necessary to provide the following configuration settings:
- MAIL_SERVER
- MAIL_PORT
- MAIL_USE_SSL
- MAIL_USE_TLS
- MAIL_USERNAME
- MAIL_DEFAULT_SENDER
- MAIL_PASSWORD
- ADMIN_EMAIL
The values of these keys depend on the concrete email provider used for sending messages.
ADMIN_EMAIL is used to assign a specific role to the user during the registration. If a user's email is the same as ADMIN_EMAIL, the "Admin" role will be assigned, else "User".
Email format
The confirmation email is based on the following config settings:
- COMPANY_NAME
- MAIL_DEFAULT_SENDER (default company's email).
The subject has the following format:
<Company name>: Confirm your registration
Confirmation token generation
During the registration process, the backend generates a special sequence of symbols representing the user's token. During the verification process, this sequence is being decoded back, and if the extracted user id is the same as the current user, it's considered confirmed.
The config key you need to provide:
- SECRET_KEY (any text that is hard to guess).
JWT
The current version of this component uses JWT (JSON Web Tokens) technology, implemented in a separate component.
Social logins
Currently, only Google sign-in is supported.
To enable it, you have to add the following variable to your .env variables list:
SOCIAL_LOGINS = 'google'
You also have to create a Google application. It can be done automatically right from here: https://developers.google.com/identity/sign-in/web/sign-in
-
Click the Configure a project button.
-
Or you can do manually in the console: https://console.developers.google.com
-
Click on the generated OAuth client and add http://localhost:5001 or whatever to test - in the Authorized JavaScript Origins section. And the same to Authorised redirect URIs
-
Select another OAuth ID, called Webclient and add URL to it too.
After you've done, open your Google apps console and download or copy your credentials. Click the application from "OAuth 2.0 Client IDs" and then copy your google Client ID to your variable:
GOOGLE_CLIENT_ID = 'xxxxx-xxxxxxxxxx.apps.googleusercontent.com'
API endpoints
-
/api/auth/register - creates a user, generates the confirmation token, sends the confirmation email
-
/api/auth/login - gets a user entity based on the entered email, and verifies if the provided password corresponds to the user's password's hash. In a case of successful verification, a JWT token is created and sent back with the response.
-
/api/auth/logout - call JWT component logout function
-
/api/auth/token/refresh - call JWT component to generate a fresh access account
-
/api/auth/resendconfirm/
- generates a new confirmation token for the specific user and sends it to the user's email -
/api/auth/confirm/
/ - changes the user's confirmation flag and saves the result in the database